 How My Special Summer Vacation cost Less than $2000
TEXTWALL ATTACK! I know this is a lot of text but it's easier to search through text
than it is to scrub through a video or audio file. I need to tell you a lot of information and
inmho this is the best way.
What did I bring with me?
I'd like to go over the gear I brought and why. I'm not being paid to promote any of
these products or services; I'm only telling you how I planned this trip to get the
results I wanted.
For tunes, I used an old no-contract android phone (it was android 3.2) and deleted
all apps, etc. until it was just the music player. I then loaded up its internal memory and
the 16gb sdhc card it can take with 80-100kb .ogg files. I still haven't filled it up and it has
thousands and thousands of songs. The phone was set to airplane mode and its
battery can run for a long, long time.
I already had a camera body and some older lenses so they were not factored into
the cost of my trip. If you don't have one, you'll have to adjust the cost accordingly for
your vacation.
For photos, I was using an Sony a7II body, plenty of spare generic batteries and the
OEM battery for it, and some older lenses.
Although I am fond of the features on the Sony camera body, I think you could
certainly take a lot of good pictures with a much older camera body. In fact,
I strongly recommend that you bring a DSLR or mirrorless camera body with you
when you visit Japan instead of just trying to snap pictures with your smartphone.
Kaiman Wong and Lok Cheung have demonstrated
that you can buy a much older DSLR camera body with a kit lens for under $100 which will give
you a much larger sensor to capture light and a better lens than what you have on a smartphone.
To be certain, I think smartphones have their place and there were moments when I
didn't have time to unpack my camera body and mount a lens to it and then nab a shot.
Whenever I could, I preferred to use the real camera though. The results were just better.
I prefer to shoot older, manual lenses for reasons of costs and aesthetics, so I brought some with me.
One of the lenses was a 24mm Nippon Kogaku Nikkor-N (circa 1977) and the
other was a 58mm Helios 44-2 (circa 1984). Those two focal lengths served me well;
24mm let me take photos of landscapes, buildings, and building interiors, and the 58mm was fine
for portraits or pictures of food.
How My Special Summer Vacation cost Less than $2000
TEXTWALL ATTACK! I know this is a lot of text but it's easier to search through text
than it is to scrub through a video or audio file. I need to tell you a lot of information and
inmho this is the best way.
What did I bring with me?
I'd like to go over the gear I brought and why. I'm not being paid to promote any of
these products or services; I'm only telling you how I planned this trip to get the
results I wanted.
For tunes, I used an old no-contract android phone (it was android 3.2) and deleted
all apps, etc. until it was just the music player. I then loaded up its internal memory and
the 16gb sdhc card it can take with 80-100kb .ogg files. I still haven't filled it up and it has
thousands and thousands of songs. The phone was set to airplane mode and its
battery can run for a long, long time.
I already had a camera body and some older lenses so they were not factored into
the cost of my trip. If you don't have one, you'll have to adjust the cost accordingly for
your vacation.
For photos, I was using an Sony a7II body, plenty of spare generic batteries and the
OEM battery for it, and some older lenses.
Although I am fond of the features on the Sony camera body, I think you could
certainly take a lot of good pictures with a much older camera body. In fact,
I strongly recommend that you bring a DSLR or mirrorless camera body with you
when you visit Japan instead of just trying to snap pictures with your smartphone.
Kaiman Wong and Lok Cheung have demonstrated
that you can buy a much older DSLR camera body with a kit lens for under $100 which will give
you a much larger sensor to capture light and a better lens than what you have on a smartphone.
To be certain, I think smartphones have their place and there were moments when I
didn't have time to unpack my camera body and mount a lens to it and then nab a shot.
Whenever I could, I preferred to use the real camera though. The results were just better.
I prefer to shoot older, manual lenses for reasons of costs and aesthetics, so I brought some with me.
One of the lenses was a 24mm Nippon Kogaku Nikkor-N (circa 1977) and the
other was a 58mm Helios 44-2 (circa 1984). Those two focal lengths served me well;
24mm let me take photos of landscapes, buildings, and building interiors, and the 58mm was fine
for portraits or pictures of food.
 The 24mm Nikkor-N lens. Review and
sample pictures people have taken with the lens.
The 24mm Nikkor-N lens. Review and
sample pictures people have taken with the lens.
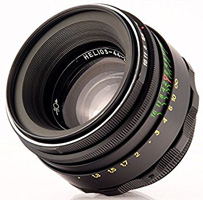 The 58mm Helios 44-2 lens. Review and sample pictures people have
taken with the lens. The lens is a bokeh monster and this article will tell you how to unleash it.
Neither of these lenses had a mount that would fit my Sony camera so I had to get mount
adapters for both of them. Even with the cost of adapters and inexpensive UV filters on the front
to protect the front elements, I was still well under the cost of one single full frame modern lens
for the camera.
I carried about a book of SDHC cards that I swapped out as necessary. I often worry
about card corruption so I used a function on my camera to automatically backup new
pictures to my smartphone which would then create copies of the pictures on google photos -
in short, I had three copies in different locations of every photo. If you want to take photos, make
backups. Someday your card will fail, or your camera might get stolen. It sucks to be without your
camera, but it's even worse to lose all the travel photos you took during your trip.
Again, make backups.
If I'd needed to do macro photography during the trip, I might have brought along my
50mm Industar 61 LZ but I didn't so I left it at home. I normally use a Nikkor-S 50mm for cosplay photography but I
did not anticipate seeing any cosplayers during my vacation, so that stayed at home in a drawer.
Equipment that you aren't going to use is dead weight. Likewise,
the image stabilization in my camera was good enough that I didn't need to use a tripod.
I don't vlog for the most part so I didn't need to bring along an automatic zoom either or my
external microphone for the camera. If I'd known that I would be going to see a Miku figurine display,
which I happened to come across in Akiba, I might have brought the Industar lens after all.
Now I've spoken about the benefit of using a dslr or mirrorless camera to take pictures, but
I want also to say this: don't wait until you have to take pictures to learn how to use the camera
and the lens. You should practice a lot. If that means going out in your backyard to take a picture
of your house or taking a snapshot of the burger you're about to eat for lunch, so be it.
You should get used to working with the equipment you'll use during your trip.
I take my photos and then I use an older copy of photoshop to grade them once I'm back home.
If you want to release your photos SOC that is an option as well. Do what you think is right.
Using my smartphone to access google maps was a drain on the phone's battery power.
I knew I'd need a lot of juice to keep everything running so I carried two
Anker PowerCore 1300 power banks inside an AMYIPO MOLLE pouch on my belt. There was enough space in the pouch
to carry both power banks, an ac to USB charging adapter, and the pocket wifi router I rented from cdjapan
(I went with their 350mb/day plan for 14 days). I used a short micro usb cable to connect the pocket wifi router to the
power bank and a longer microusb cable to connect my phone to the power bank. Now that I think
about it, this setup is kind of cyberpunk.
The 58mm Helios 44-2 lens. Review and sample pictures people have
taken with the lens. The lens is a bokeh monster and this article will tell you how to unleash it.
Neither of these lenses had a mount that would fit my Sony camera so I had to get mount
adapters for both of them. Even with the cost of adapters and inexpensive UV filters on the front
to protect the front elements, I was still well under the cost of one single full frame modern lens
for the camera.
I carried about a book of SDHC cards that I swapped out as necessary. I often worry
about card corruption so I used a function on my camera to automatically backup new
pictures to my smartphone which would then create copies of the pictures on google photos -
in short, I had three copies in different locations of every photo. If you want to take photos, make
backups. Someday your card will fail, or your camera might get stolen. It sucks to be without your
camera, but it's even worse to lose all the travel photos you took during your trip.
Again, make backups.
If I'd needed to do macro photography during the trip, I might have brought along my
50mm Industar 61 LZ but I didn't so I left it at home. I normally use a Nikkor-S 50mm for cosplay photography but I
did not anticipate seeing any cosplayers during my vacation, so that stayed at home in a drawer.
Equipment that you aren't going to use is dead weight. Likewise,
the image stabilization in my camera was good enough that I didn't need to use a tripod.
I don't vlog for the most part so I didn't need to bring along an automatic zoom either or my
external microphone for the camera. If I'd known that I would be going to see a Miku figurine display,
which I happened to come across in Akiba, I might have brought the Industar lens after all.
Now I've spoken about the benefit of using a dslr or mirrorless camera to take pictures, but
I want also to say this: don't wait until you have to take pictures to learn how to use the camera
and the lens. You should practice a lot. If that means going out in your backyard to take a picture
of your house or taking a snapshot of the burger you're about to eat for lunch, so be it.
You should get used to working with the equipment you'll use during your trip.
I take my photos and then I use an older copy of photoshop to grade them once I'm back home.
If you want to release your photos SOC that is an option as well. Do what you think is right.
Using my smartphone to access google maps was a drain on the phone's battery power.
I knew I'd need a lot of juice to keep everything running so I carried two
Anker PowerCore 1300 power banks inside an AMYIPO MOLLE pouch on my belt. There was enough space in the pouch
to carry both power banks, an ac to USB charging adapter, and the pocket wifi router I rented from cdjapan
(I went with their 350mb/day plan for 14 days). I used a short micro usb cable to connect the pocket wifi router to the
power bank and a longer microusb cable to connect my phone to the power bank. Now that I think
about it, this setup is kind of cyberpunk.
 The pocket wifi router.
Having wifi anywhere not only allowed me to use my google maps, it allowed me to backup my photos
to google photos while I was in the process of traveling from point to point, and it also allowed me to use
hyperdia to check train routes on the go. And of course,
there's an app for that.
I used hostels.com to find cheap lodging while I was in Japan, and I found a place in Nezu, Tokyo for around
$30 a night. I typically either stay at a hostel or at an internet cafe when I travel in Japan because I don't want to
pay lots of money for a hotel.
Likewise, I ate cheaply. As Chris Broad describes in his "How Expensive is it to Travel Japan? video, you can eat very
cheaply at convenience stores (konbini). I typically could get a 100 yen onigiri and a 200 yen can of beer for
300 yen total, which is about $3. They don't care if you drink outside so long as you don't make a
nuisance of yourself, so you can even walk down the street while enjoying that cold can of beer. Gyudon
places like Matsuya, Yoshinoya, and Sukiya can offer you a complete meal for around $5.
The pocket wifi router.
Having wifi anywhere not only allowed me to use my google maps, it allowed me to backup my photos
to google photos while I was in the process of traveling from point to point, and it also allowed me to use
hyperdia to check train routes on the go. And of course,
there's an app for that.
I used hostels.com to find cheap lodging while I was in Japan, and I found a place in Nezu, Tokyo for around
$30 a night. I typically either stay at a hostel or at an internet cafe when I travel in Japan because I don't want to
pay lots of money for a hotel.
Likewise, I ate cheaply. As Chris Broad describes in his "How Expensive is it to Travel Japan? video, you can eat very
cheaply at convenience stores (konbini). I typically could get a 100 yen onigiri and a 200 yen can of beer for
300 yen total, which is about $3. They don't care if you drink outside so long as you don't make a
nuisance of yourself, so you can even walk down the street while enjoying that cold can of beer. Gyudon
places like Matsuya, Yoshinoya, and Sukiya can offer you a complete meal for around $5.
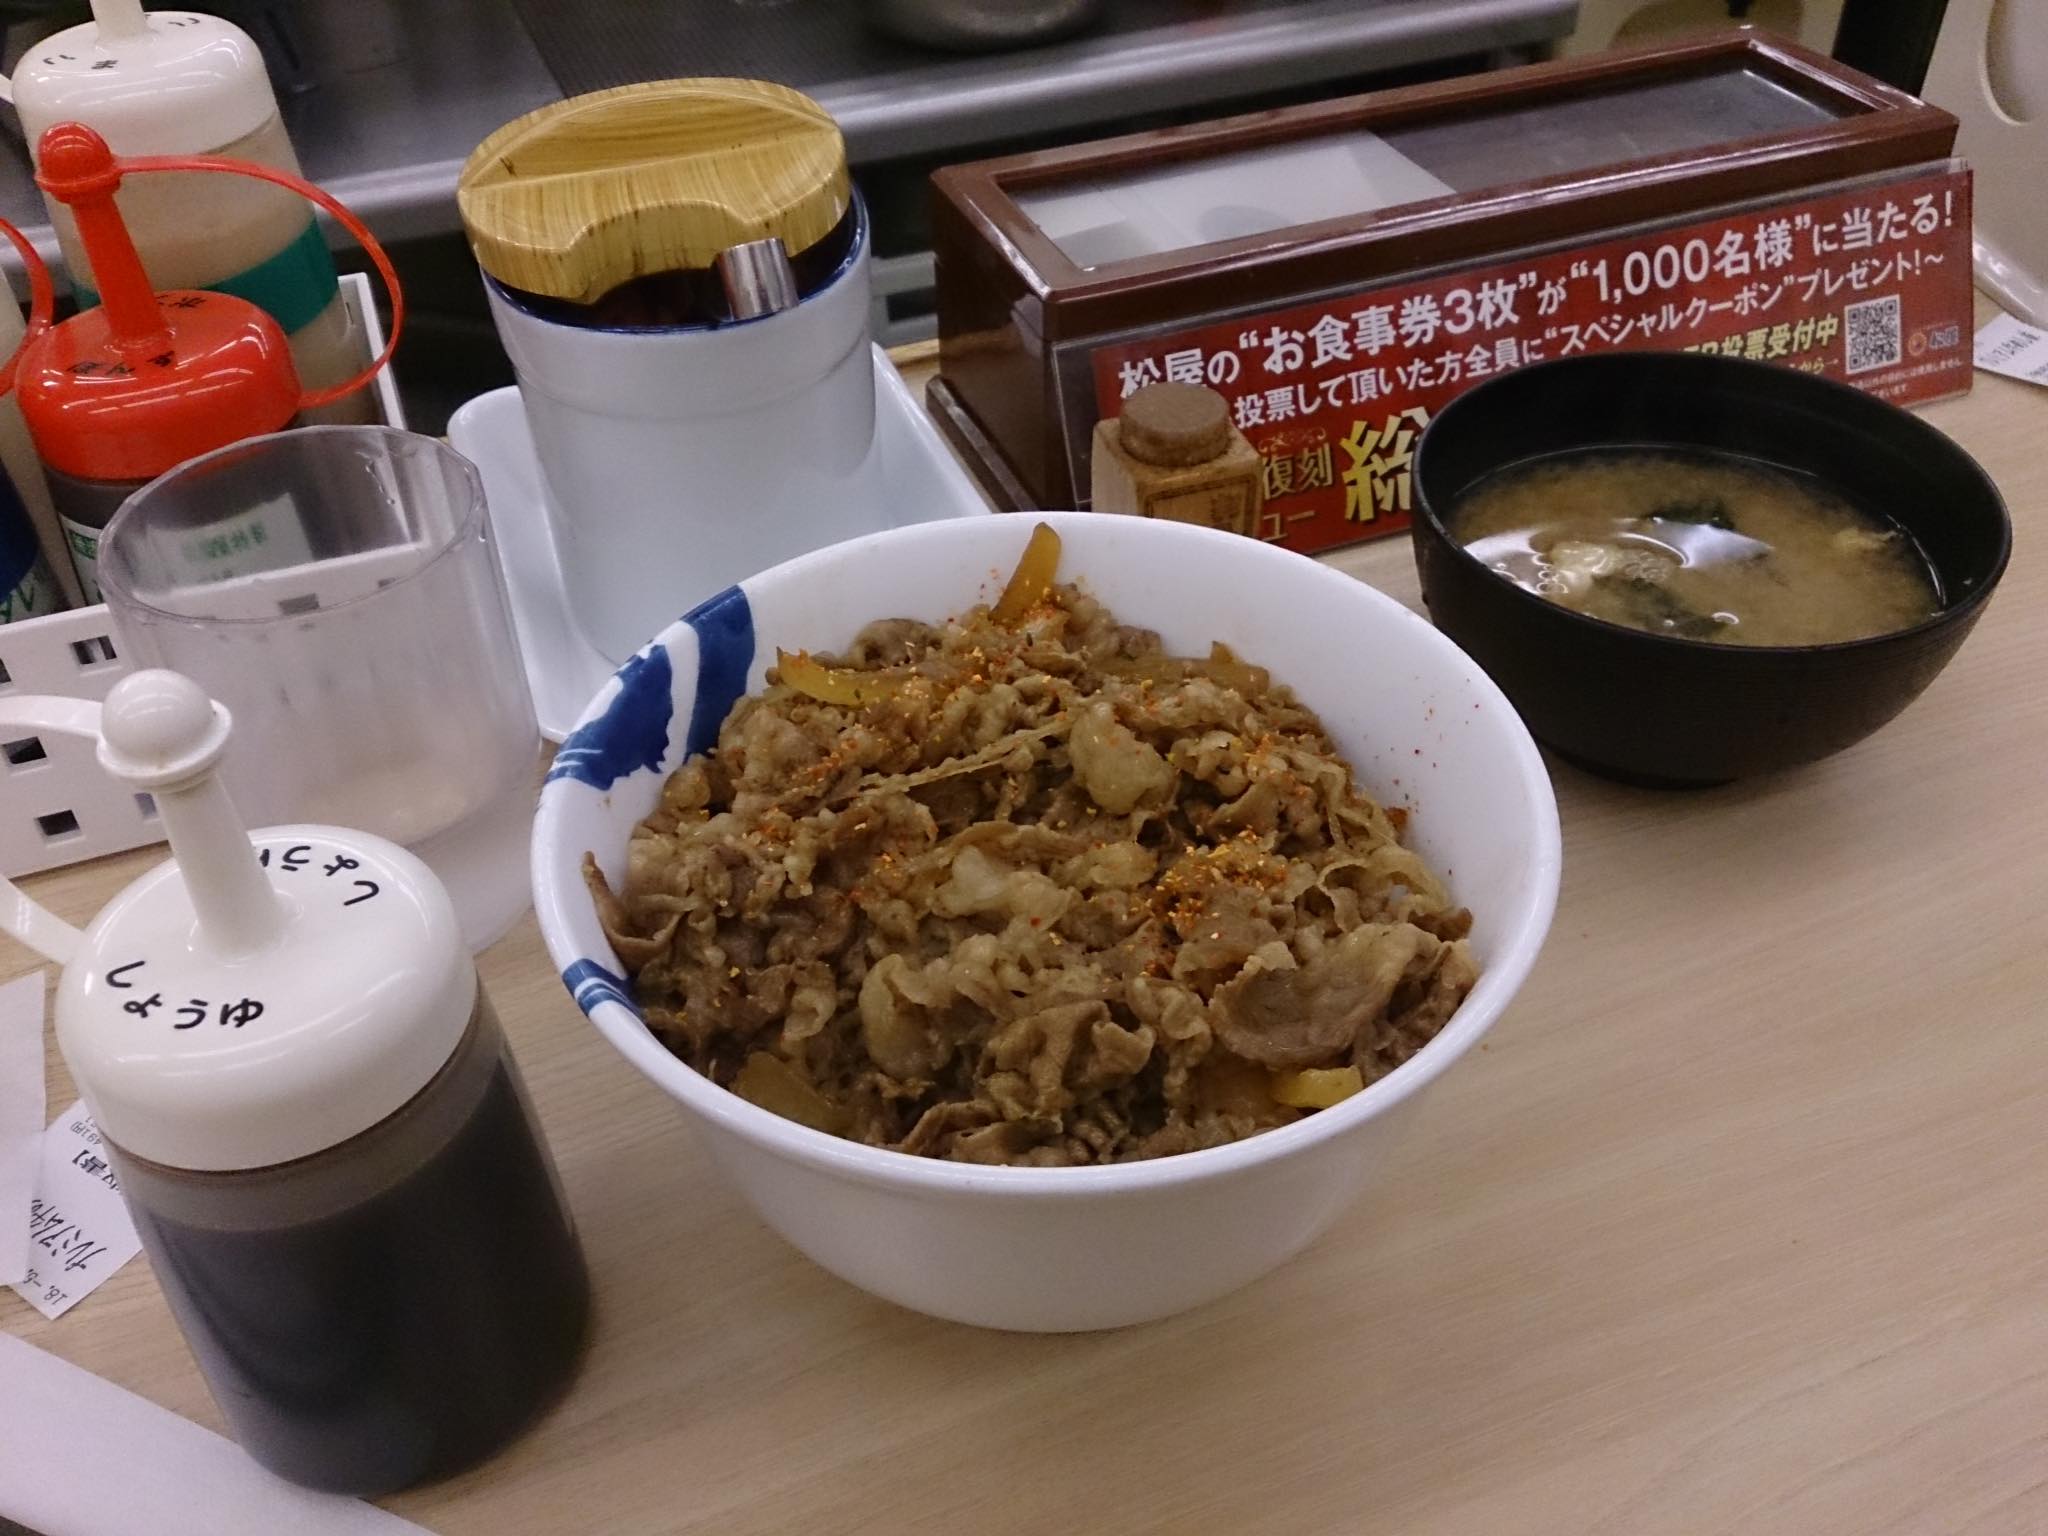 Matsuya beef bowl. This and the soup were under 500 yen.
I strongly encourage you to learn Japanese if you are going to spend time in Japan, but if you
don't know the language you can probably get by with an old copy of the
the Berlitz Japanese Phrasebook.
You can find a secondhand copy of that for under $6 with shipping and it will serve you well.
Buy your tickets early. I've used google flights, orbitz, and cheapflights. The trick is to lock in tickets for
your travel dates far in advance. You might even be able to get a round-trip flight for under $1200 if you
reserve them early enough, but do research - some of the airlines offer low quality service.
I also picked a place to stay in Tokyo that was cheap and close to all of my destinations. That helped
me keep costs down because I could always get to where I wanted to go through local or rapid trains
instead of shinkansen. In my estimation the JR Pass just isn't worth it because many of the destinations
I want to go to aren't covered by it.
That in short is how I did it. I'll link to the Love Live and Love Live Sunshine
maps in their own section with comments. I wanted to write out all this down and provide links because
it's easier to search through text than it is a video or mp3.
Part [ 1 ] [ 2 ] [ 3 ] [ 4 ] [ 5 ]
Matsuya beef bowl. This and the soup were under 500 yen.
I strongly encourage you to learn Japanese if you are going to spend time in Japan, but if you
don't know the language you can probably get by with an old copy of the
the Berlitz Japanese Phrasebook.
You can find a secondhand copy of that for under $6 with shipping and it will serve you well.
Buy your tickets early. I've used google flights, orbitz, and cheapflights. The trick is to lock in tickets for
your travel dates far in advance. You might even be able to get a round-trip flight for under $1200 if you
reserve them early enough, but do research - some of the airlines offer low quality service.
I also picked a place to stay in Tokyo that was cheap and close to all of my destinations. That helped
me keep costs down because I could always get to where I wanted to go through local or rapid trains
instead of shinkansen. In my estimation the JR Pass just isn't worth it because many of the destinations
I want to go to aren't covered by it.
That in short is how I did it. I'll link to the Love Live and Love Live Sunshine
maps in their own section with comments. I wanted to write out all this down and provide links because
it's easier to search through text than it is a video or mp3.
Part [ 1 ] [ 2 ] [ 3 ] [ 4 ] [ 5 ]